Email as 2FA Method
Your MoonChute 2FA wallet is entirely under your ownership and control. Rest assured, your assets are secure and protected with MoonChute's services.
1. Access the MoonChute Wallet
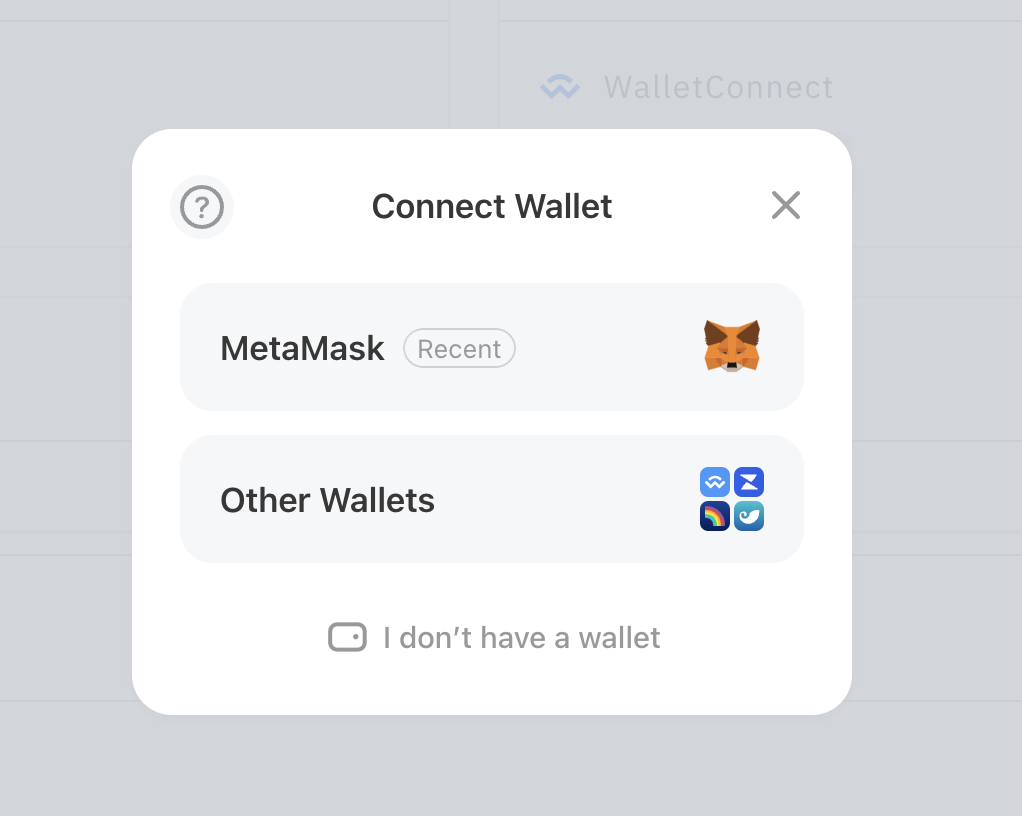
Visit MoonChute Wallet and connect your preferred wallet.
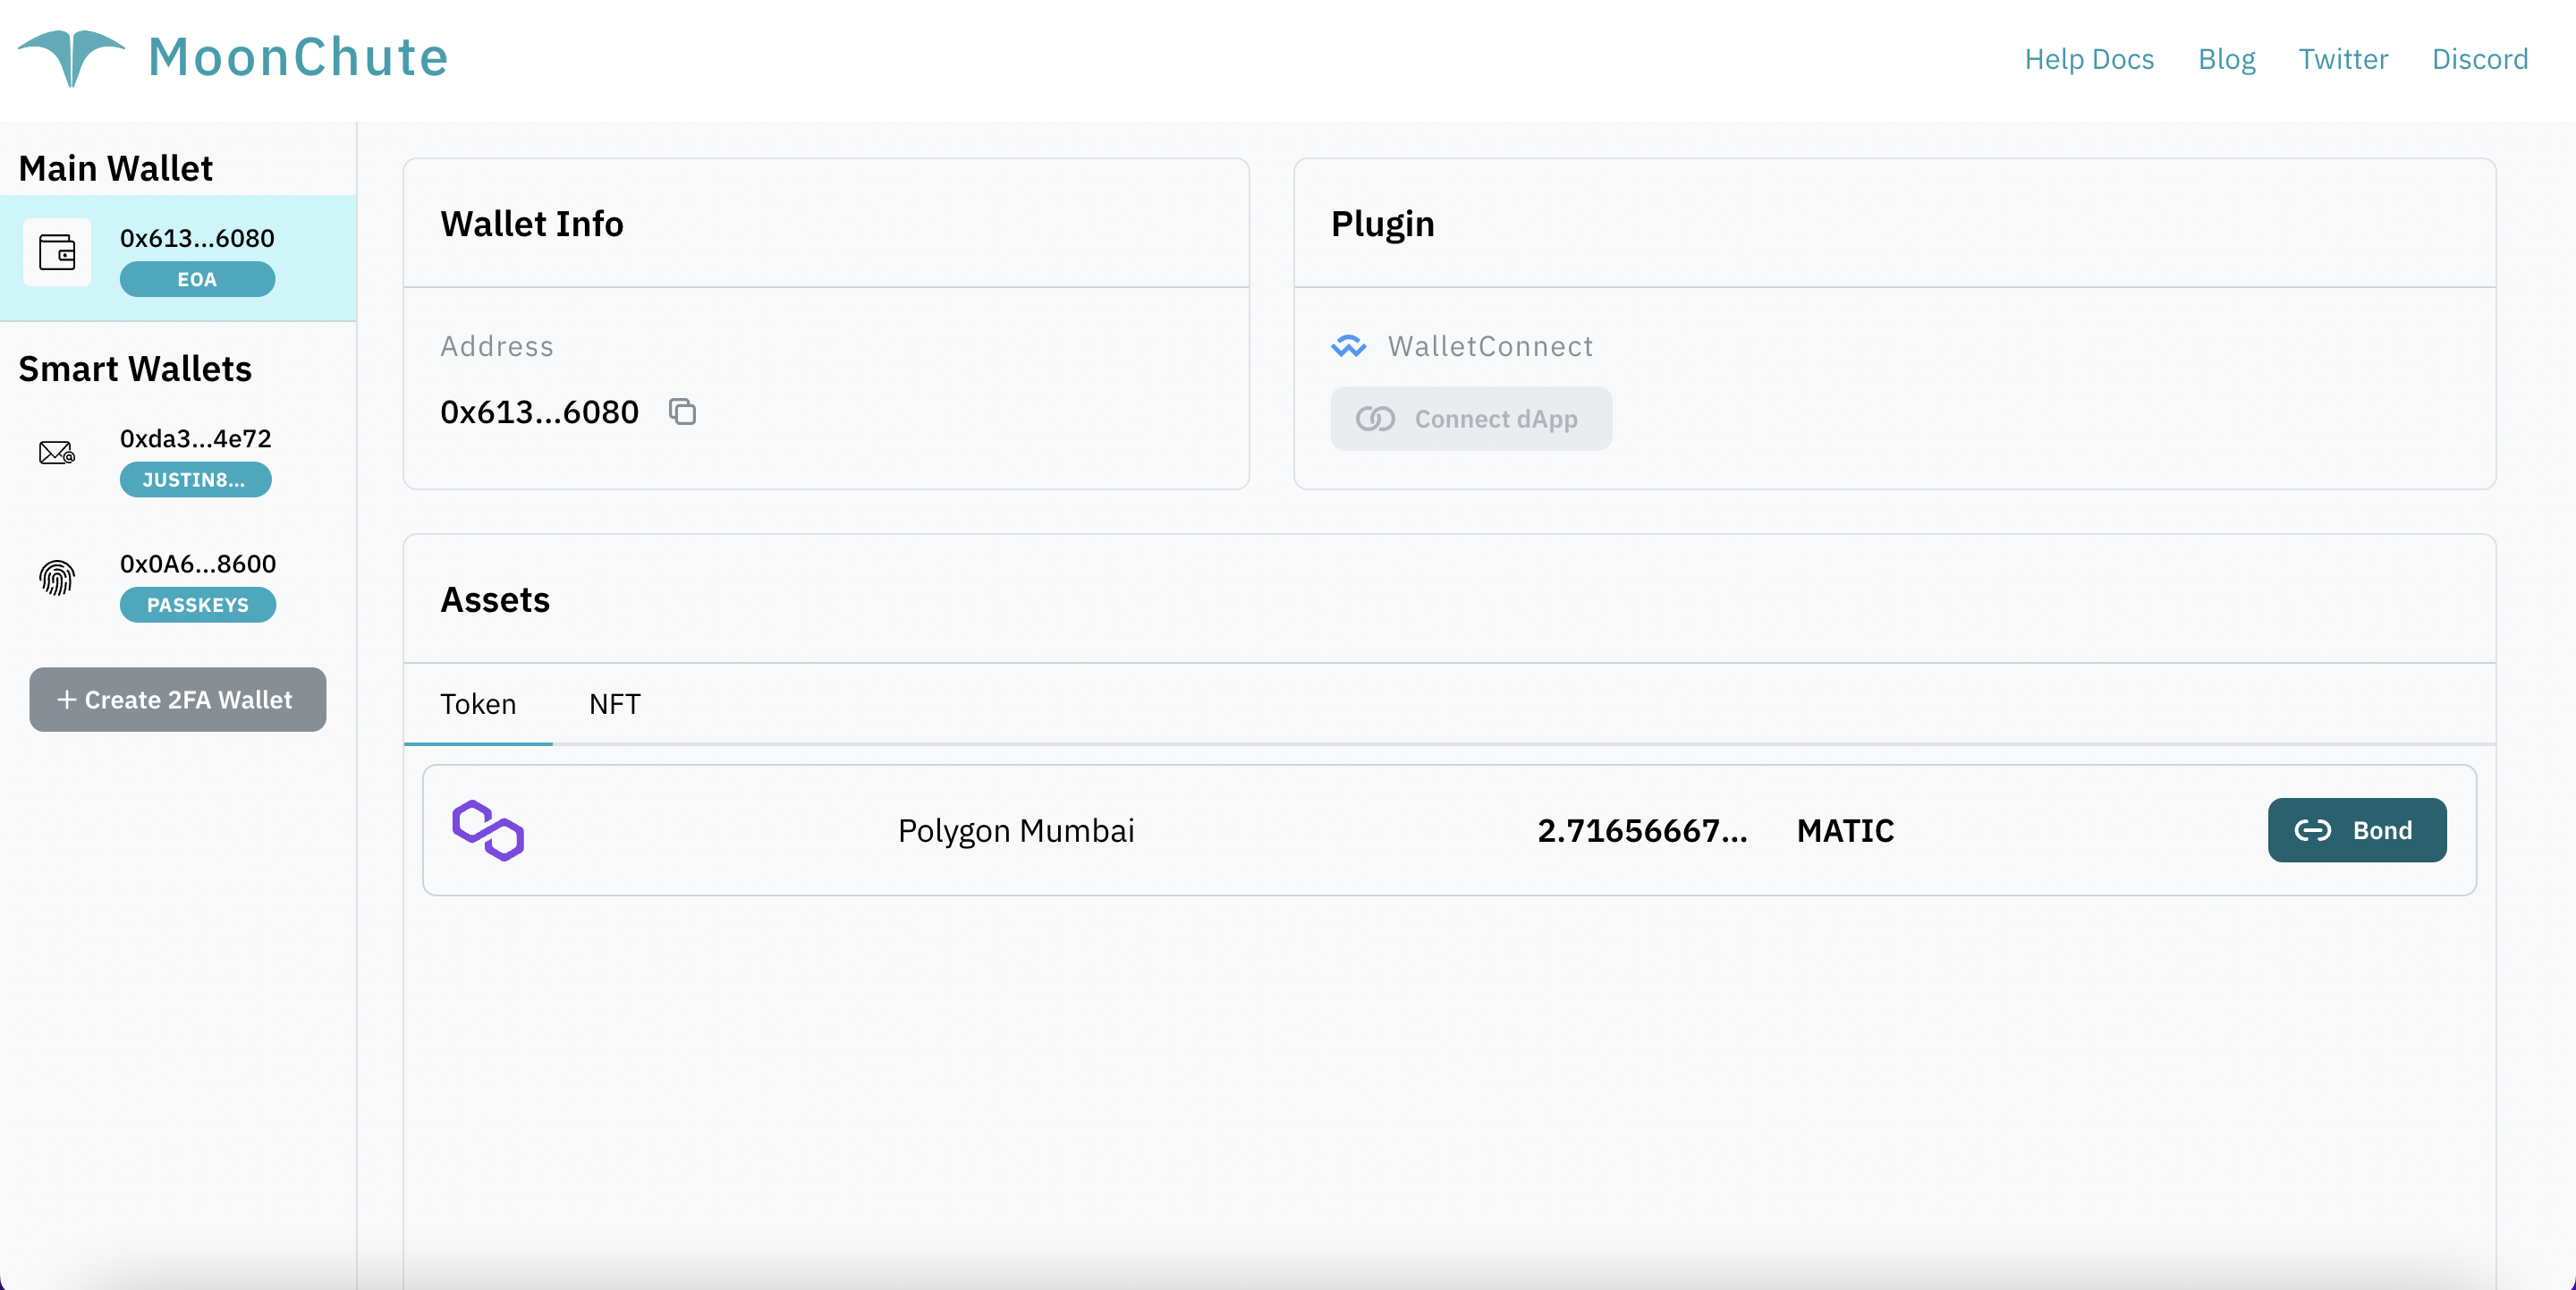
Upon successful connection, your primary wallet and any associated NFTs will be displayed.
2. Set a 2FA-linked Account
Simply hit "Constraint Wallet" and select the Google account you'd like to associate with your 2FA account wallet.
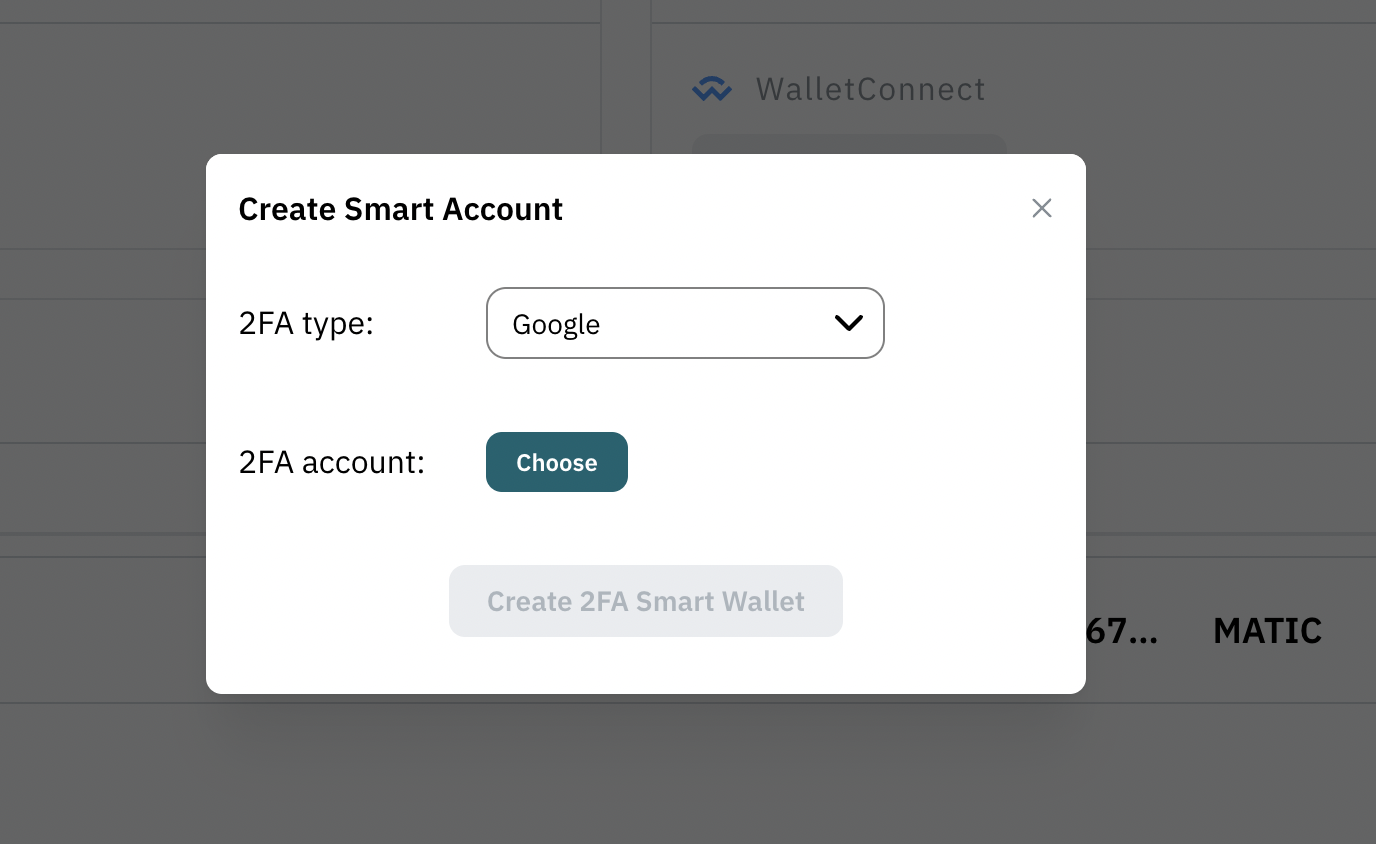
3. Create 2FA account wallet
Once you've paired your chosen Google account with your new account wallets, you're all set to fashion your 2FA account wallet right here on MoonChute.
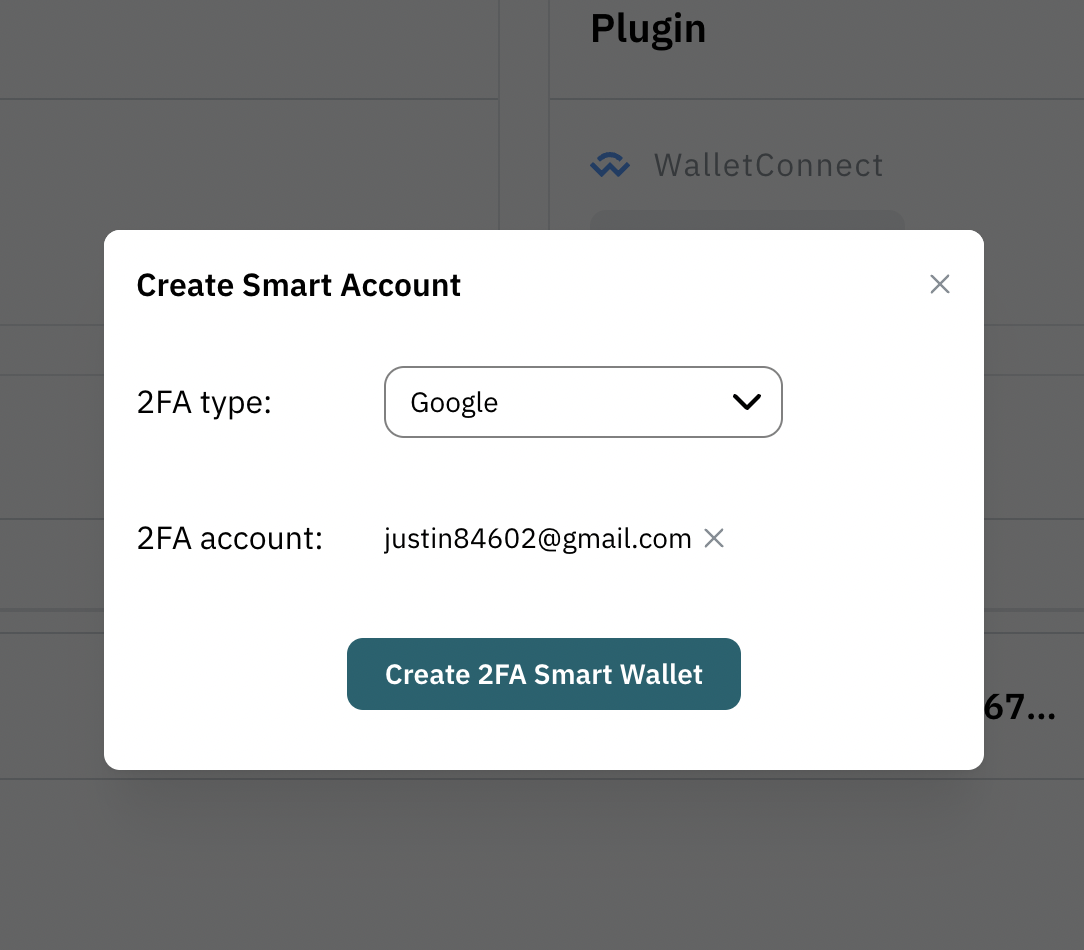
Give "Add new constraint wallet" a click and follow the cues.
At this point, you'll need to sign a message to grant MoonChute permission to create account wallets.
This signature is solely for the creation of your 2FA wallet. MoonChute built upon and expanded from ZeroDev. If you got interest please refer to here.
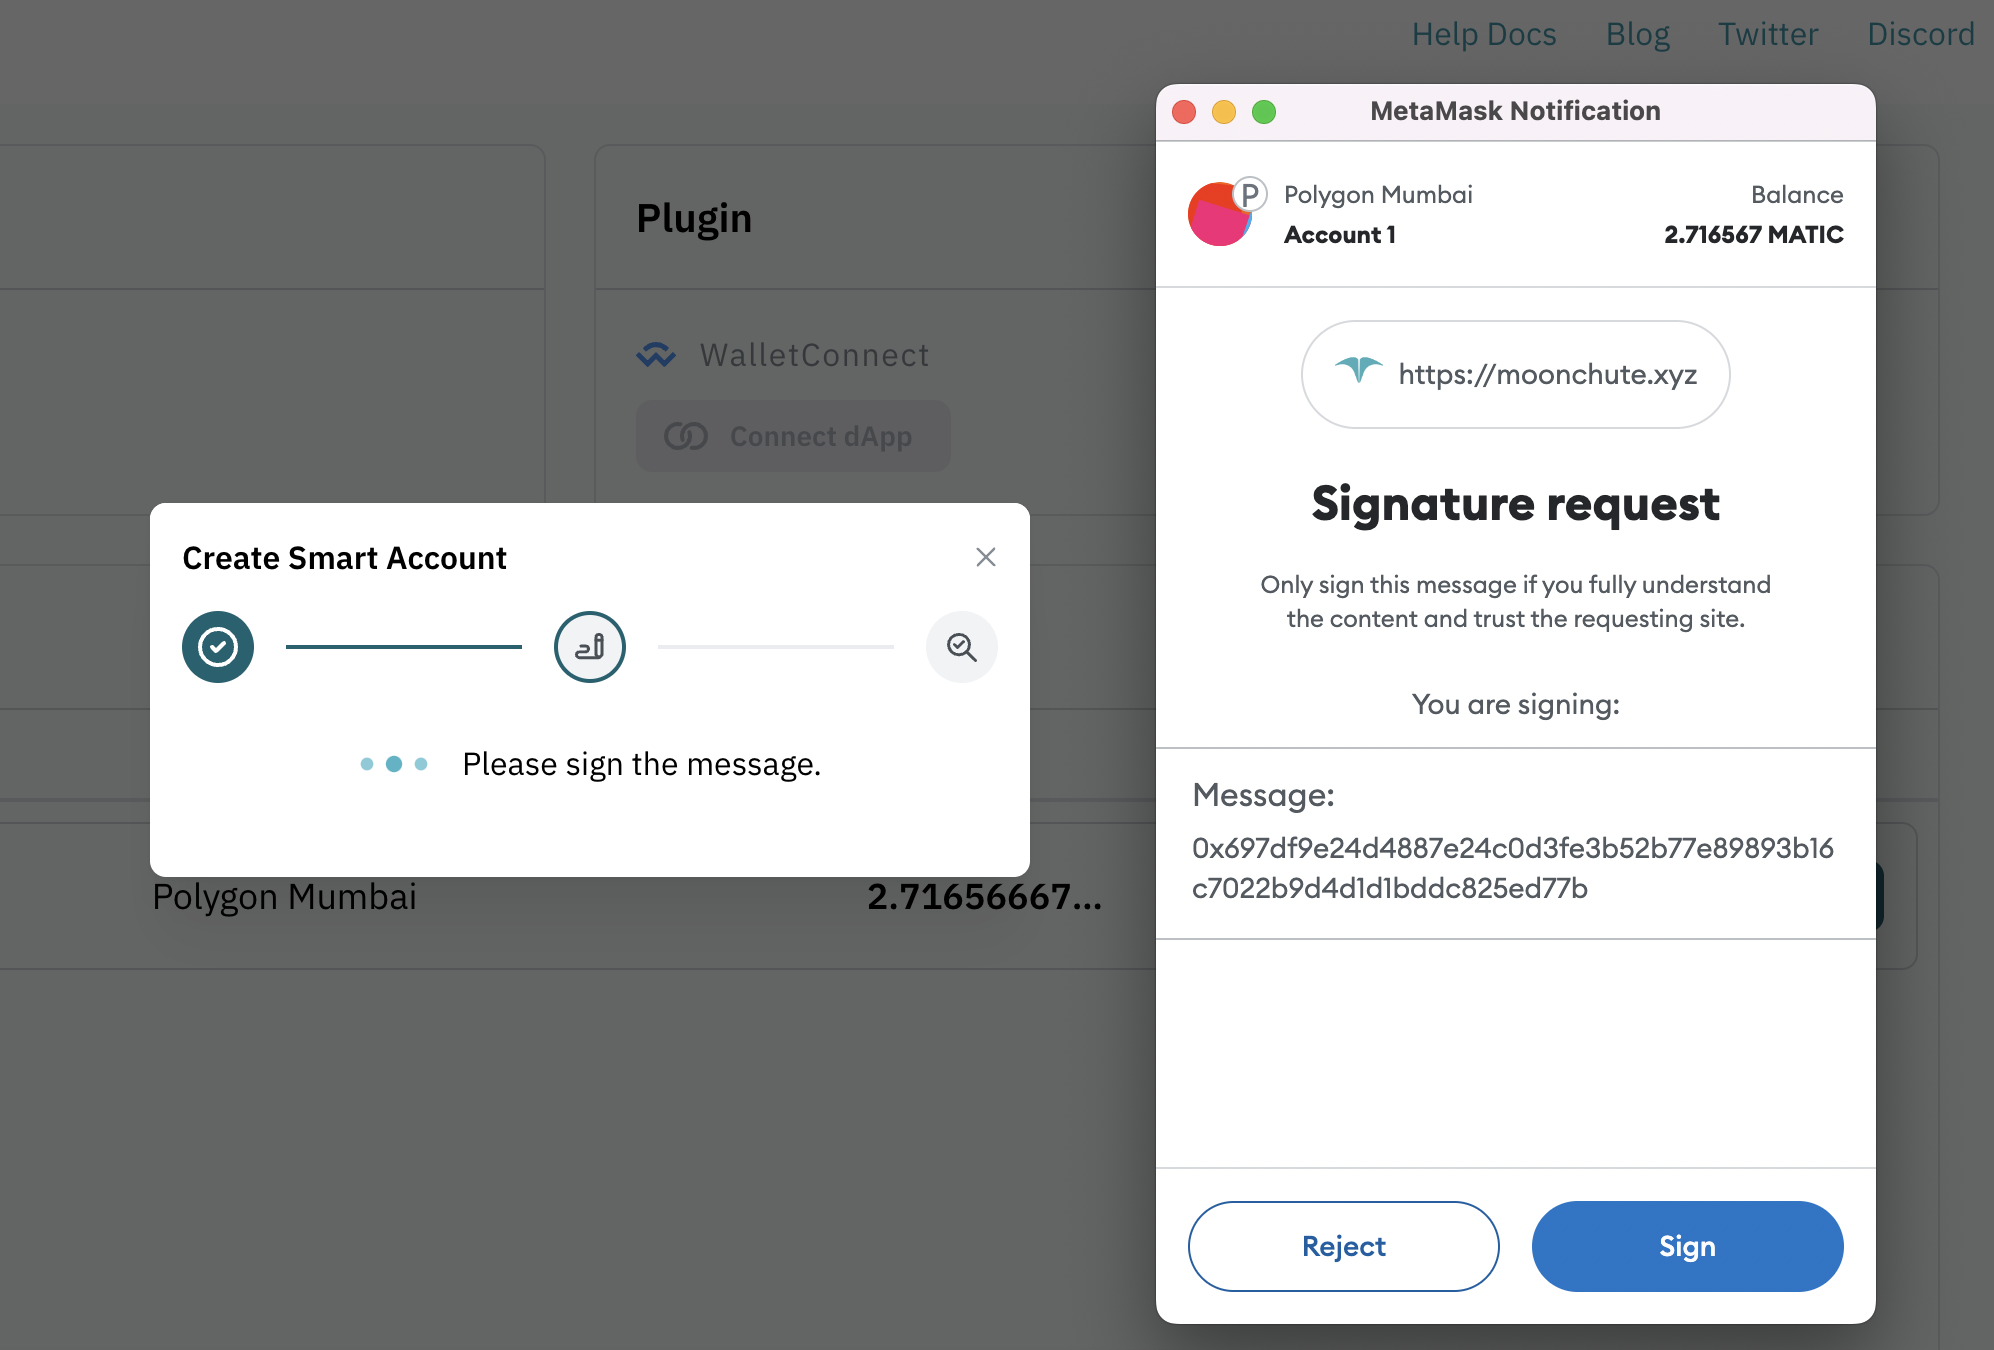
You're almost at the finish line! Just sit tight after signing the message while we process the transaction on the blockchain.
4. 🎉 Celebrate!
Bask in the glow of achievement - you've successfully crafted your 2FA account wallet!
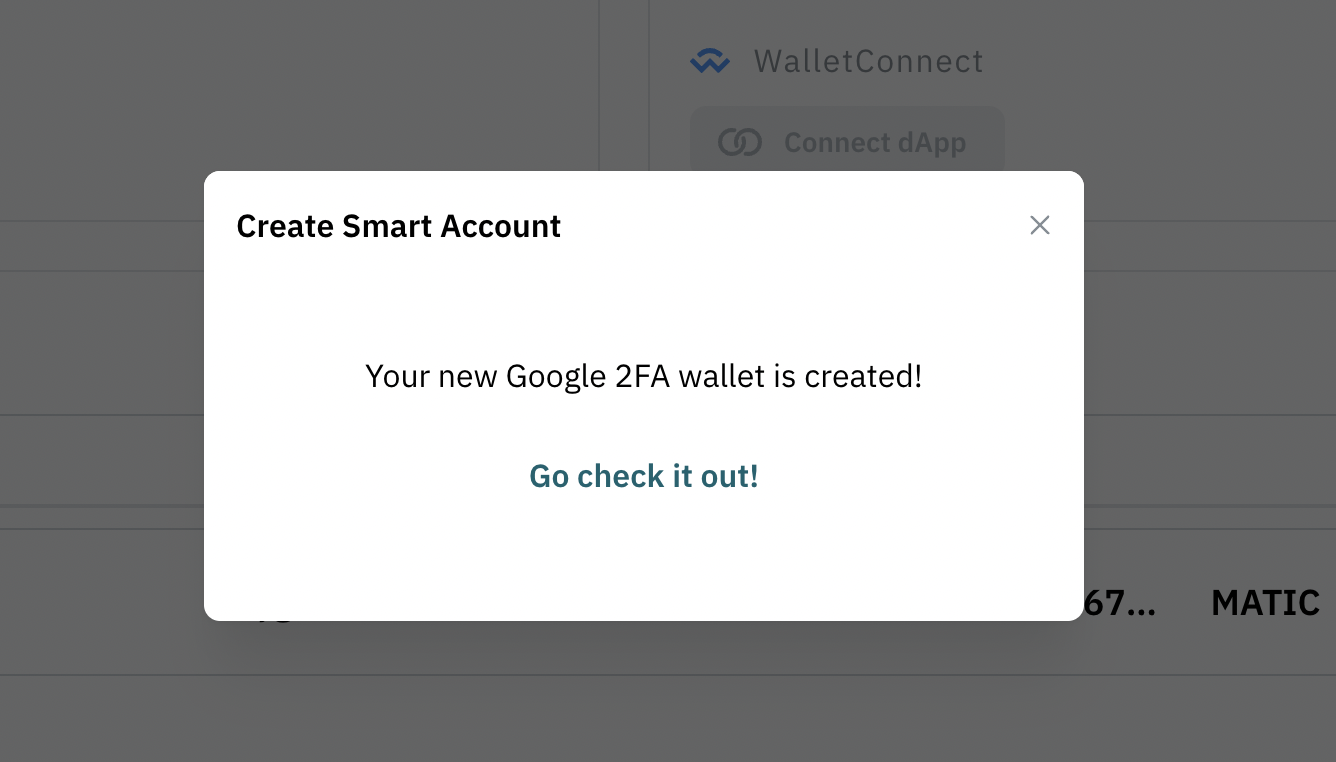
Feel free to hit "Go check it out" or click on the tab between "Your Wallet" to switch over to your shiny new 2FA wallet. As a token of our congratulations, we're sending you an NFT!
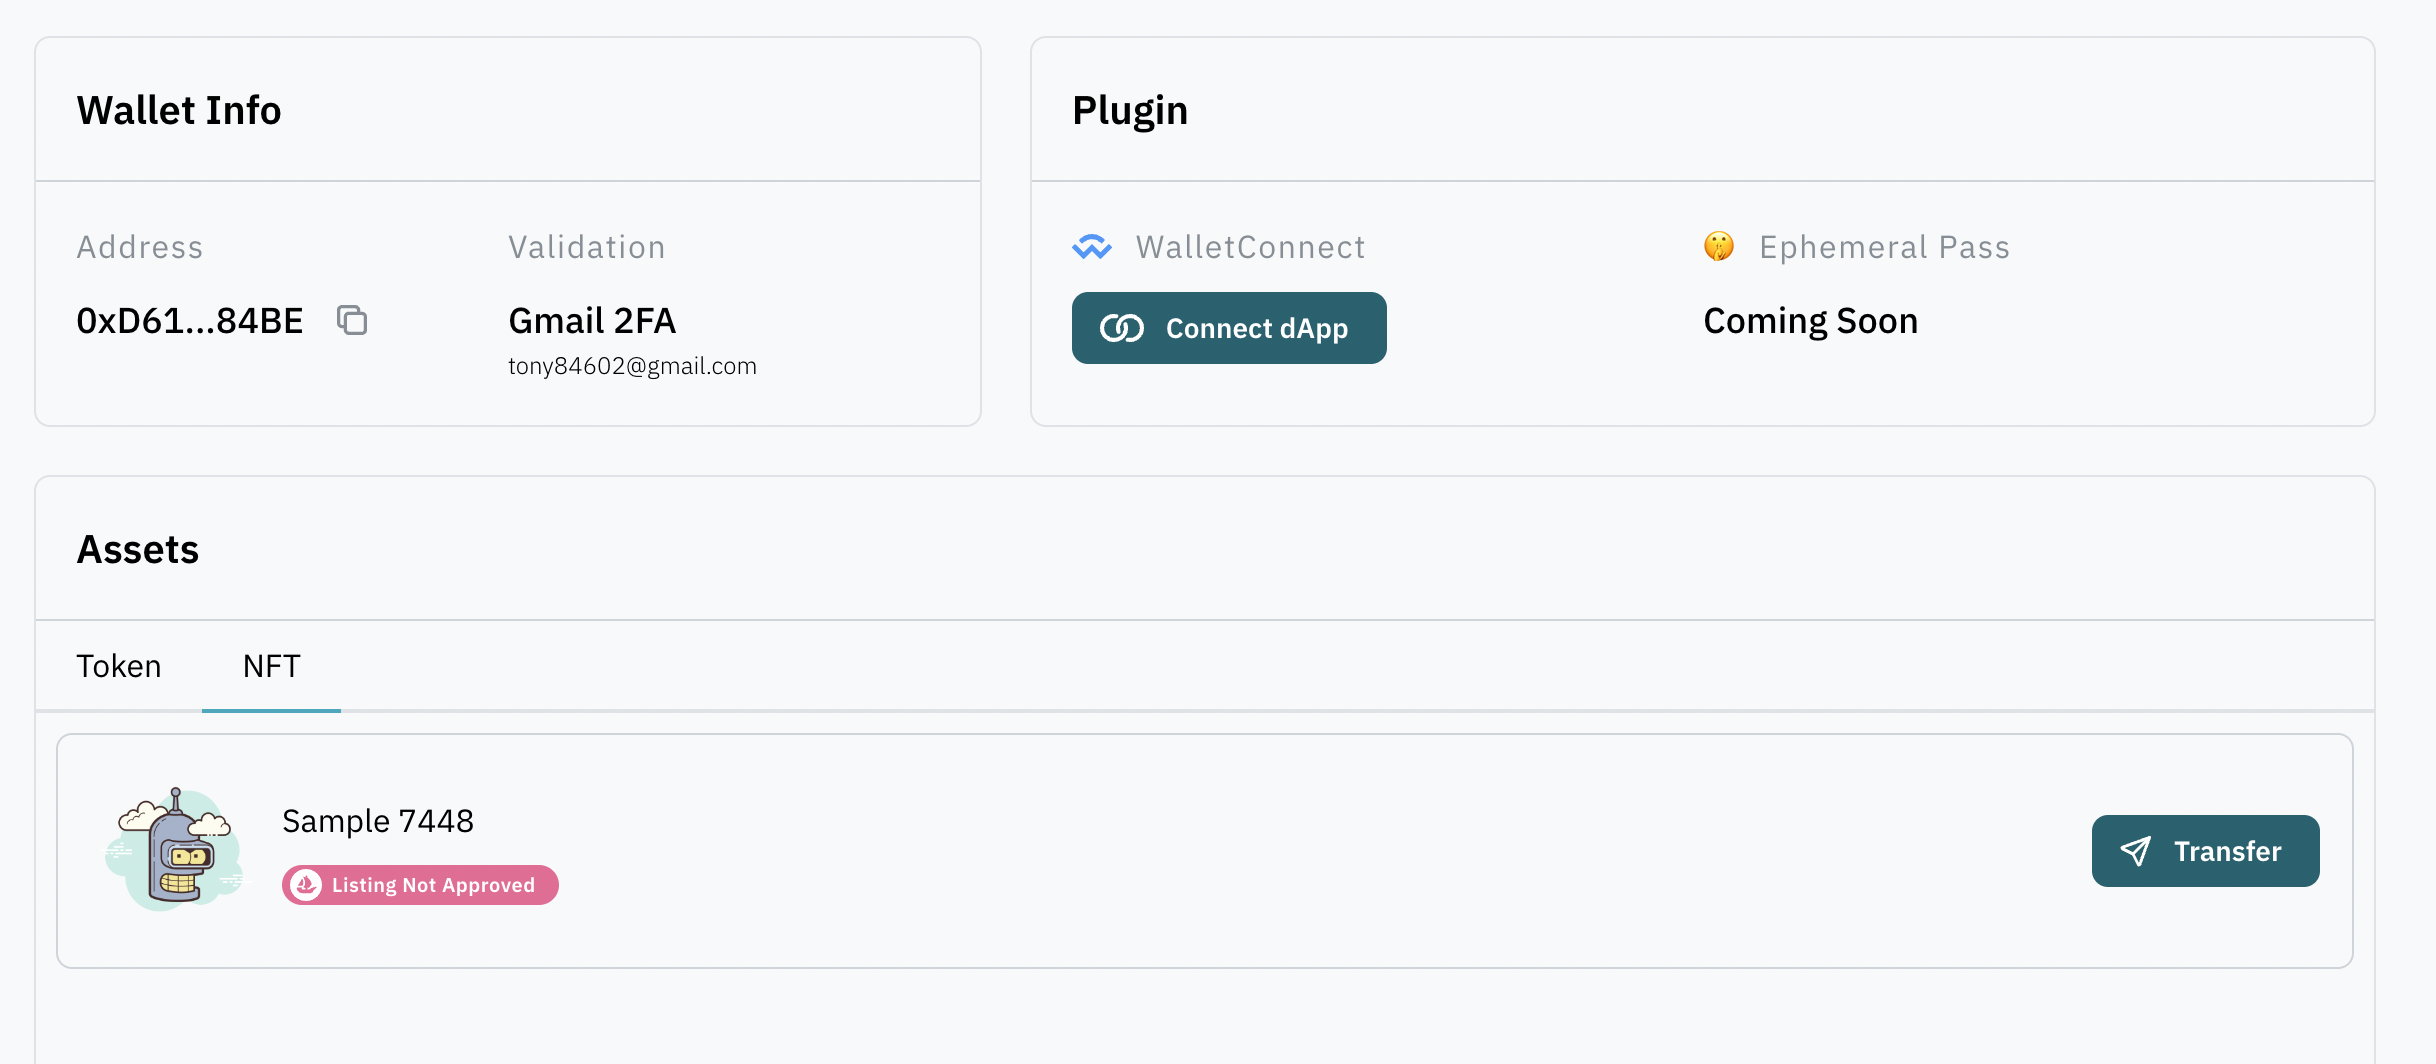
Where's the 2FA?
Now that your wallet is set up, head on over to the next section to experience firsthand the protection 2FA offers, along with the NFT we've just sent your way.
Is the wallet on-chain? And why no gas fee?
Your account wallet is indeed on-chain. You might be wondering, why aren't you paying gas fees? Here's the cool part - thanks to account abstraction, it's a gasless transaction and we've got the fees covered for you!